With new haircuts come new experiments in styling. Most days I'm quite happy to have my hair straight (it's natural form), but other days I'm antsy for some curl. I have used a curling iron several times and that works fine, but it's also nice to have a heatless, non-damaging option (especially since I'm not terribly fast with curling my short hair yet!). This way I can wash/set my hair the evening before, go to sleep, and have fun hair the next day with very little work/time lost!
I thought I would share what has worked best for me so far! This could work for longer hair as well and if you're familiar to the headband technique it should be quite easy!
First I wash my hair. Right now I'm using Jason Dandruff Shampoo (had a flare-up with the dry winter weather) and conditioning with Apple Cider Vinegar diluted with water.
One important step for me is letting my hair dry a bit before doing anything. I don't have super thick hair, but I have a lot of it (if that makes sense!), so if I put it up wet it will be flat in bad places and poofy in others. Not good! So, I snuggle Rennie or eat a cookie while I wait. :-D
Once my hair is slightly damp, I add a little bit of mousse (or styling product of choice!), brush, and then shake it a little bit so it isn't perfectly-straight. I find that I have more volume the next day if I take care to lift my hair up away from my scalp (I always brush or blowdry my hair upside down).
This next step is the KEY to not having a helmet head after sleeping in a headband. Instead of parting and brushing down my hair to put the headband on, I take the top section of hair and brush it forward. I use a clip or barrett to hold it there while I put on the headband.
I place the headband over that top section of hair. Then I unclip it and part it how I normally would.
Starting with a small section, I wrap my hair around the headband, adding a little more hair each time.
When one side is wrapped to the back, I do the same thing on the other side!
Once both sides are wrapped to the back, I just twist the longer hair around and around till it's entirely tucked inside and then use bobby pins to secure.
All done!!!
Time to sleep! :-D
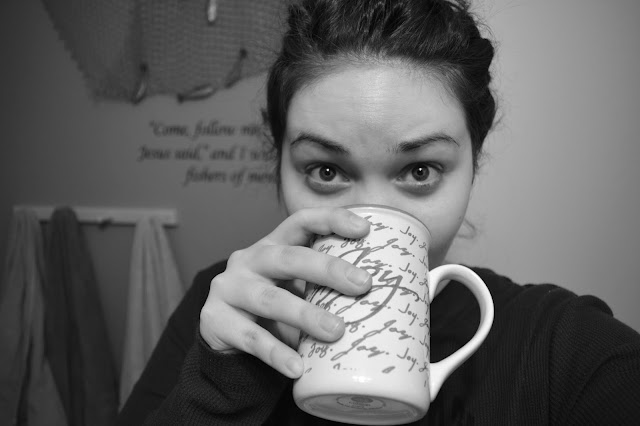
Important first step the next morning: make sure to drink some coffee!!! This ensures your mind being able to focus and having enough energy to lift your hands to your hair. ;-)
If I'm going to wear makeup, I usually put it on first and then all that's left is to remove the bobby pins and gentle pull my hair loose!
A little more mousse (sometimes, for that extra volume!), plus some teasing and hairspray (if I feel like it) and I'm done.
One of my favorite ways to style these curls/waves is to do a messy ponytail, leaving some hair loose. It looks put-together while being practical for busy mom-days! It is also a great option for the following day if I have to go a little longer without washing my hair. ;-)
Hope this gives you some fun ideas! If you try this, be sure to let me know how it turned out.
<3


4 comments:
Wow, what a gorgeous style! Great idea for sure! God Bless you,
Lexi
I loooooovvveee how it looks on you!! OMW YOURE JUST SO PRETTY. And Rennie is the last photo? oh yes, adorbs.
Hi Rachel.
So fun following along with your blog. I tried this hair technique And LOVE IT! I have already done it twice. So quick, easy, & amazing results. I took a photo of the results and will have to share with you at some point. Thanks again for the amazing tip!
Hannah salazar
Hi Rachel,
So fun following along with your blog. I tried this tip and LOVE IT. I have already used it twice and am so happy with the results each time. I took a photo of them and will have to share with you at some point. :) thank you for the quick, easy, and perfect results mom-hairdo. I'm in love.
Hannah Salazar
Post a Comment